
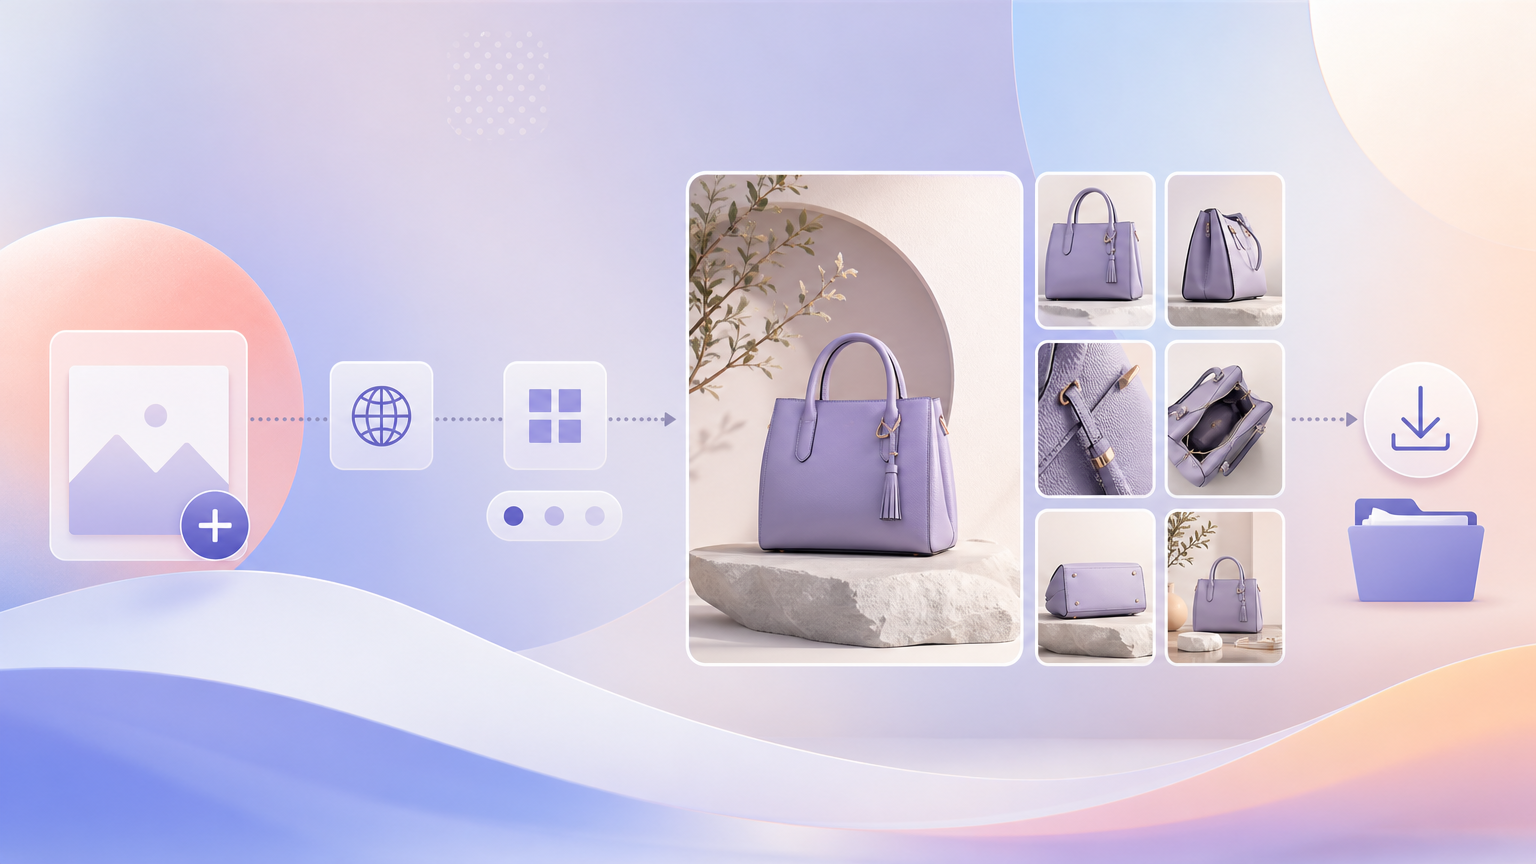
Long-form product detail pages need more than one hero shot: shoppers expect lifestyle context, ingredient or feature close-ups, benefit callouts, and specification frames before they add to cart. On Rhinobird you can produce a coordinated still-image set for a PDP from one product photo using AI E-commerce PDP. This guide walks through the English UI from upload through Generate, how module counts map to page sections, and where to retrieve files in History.
Open AI E-commerce PDP
From AI Tools, open AI E-commerce PDP (the product detail image workspace). The page title reflects AI-driven ecommerce detail imagery. Confirm whether you are signed in via Login / Sign up in the top bar—you can configure most fields while signed out, but generation and the writing assistant require an account. Keep History in mind for the download step; it is available from the sidebar and tool header.
Upload your product image
Start with Upload Product Image, marked required. Use a sharp photo where packaging, color, and silhouette read clearly at listing size. The model treats this file as the visual anchor for every module you enable later.
- Prefer even lighting and minimal motion blur on labels.
- Show the full sellable unit unless the listing intentionally sells a partial kit.
- If you already uploaded assets in a prior session, reselect from your library instead of duplicating uploads.
Weak source photos propagate into every section—fix the hero capture before you tune module counts.
Set locale, format, and merchandising fields
Configure Country and Language to match the storefront or ad locale so on-image copy and scene tone align with your market. Set Image Aspect Ratio to the placement you will publish—marketplace long pages often differ from social crops, and changing ratio after a batch usually means regenerating rather than resizing in-place.
Fill required Category with a specific merchandising label (for example skincare serum versus a vague “beauty” bucket). Add Product Name as shoppers recognize it on the listing title. Use Description for verified facts—materials, dimensions, key ingredients, compatibility, warranty notes—that modules should repeat accurately. When AI Writing Assistant appears beside text fields, use it to expand bullet facts into fluent copy, but feed accurate specs first; the assistant amplifies what you provide rather than replacing compliance review.
Choose included modules and counts
The form groups PDP sections under Included modules, each with a count control. Typical sections on the English UI include:
- Above-the-Fold Hero Visual — primary fold imagery for the top of the page.
- Lifestyle & Usage — product in realistic use contexts.
- Product Detail Close-ups — texture, ports, labels, or packaging details.
- Ingredient Spotlight — highlight formulation or component story when relevant.
- Core Benefits & Selling Points — benefit-led frames for scanners.
- Detailed Specifications — spec-forward layouts for comparison shoppers.
- Usage Guide & Tips — step or care guidance when the SKU needs instructions.
Plan counts against your real template: a minimal first run might emphasize hero plus one lifestyle frame and one USP-style benefit module, then add close-ups and specifications in a second pass after you validate color fidelity. Each increment affects the credit cost shown on Generate—review that total before you commit.
Generate and download
When required fields are complete, press Generate. If a login dialog appears, finish Login / Sign up (Continue with Google or Continue with Email as offered), then press Generate again without leaving the page. Processing may take several minutes depending on module totals.
When the run completes, open History, locate the job card, preview frames for product identity and readable text, then download assets for your CMS or marketplace uploader. If one module style misses the mark, adjust counts or Description facts and regenerate that batch rather than manually patching dozens of unrelated sections.
Failure states and fixes
- Generate disabled — confirm Upload Product Image and required Category (and any other required controls) are filled.
- Login prompt on Generate — sign in, then retry on the same tool page.
- Generic or off-brand scenes — tighten Category, add concrete specs in Description, and reduce lifestyle counts until the hero look is stable.
- Illegible label text — retake or export a cleaner photo with a straighter label angle; extreme perspective in the source often renders gibberish on close-up modules.
- Wrong language on overlays — revisit Country / Language before regenerating.
A successful PDP pass delivers a coherent set of stills—hero, support modules, and spec frames—that match your aspect ratio and locale, ready to slot into long-form product detail templates without reshooting every section in a studio.